큐브 맵(Cube Map)
📼 큐브 맵(Cube Map)이란?
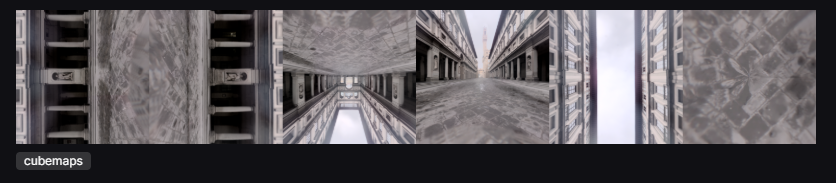
여섯 개의 2D 텍스처로 구성된 정육면체 형태의 텍스처 컬렉션을 의미.
- 가상의 큐브면을 형성하여 각 면은 월드 축의 방향에 따른 뷰를 나타냄.
- 생성시, X, Y, Z 좌표 양수와 음수 방향의 광경(View)을 나타내는 여섯 장의 이미지가 필요.
| 축 | 로테이션 |
|---|---|
| 양수 X | 반시계방향 90도 회전 |
| 음수 X | 시계 방향 90도 회전 |
| 양수 Y | 180도 회전 |
| 음수 Y | 무회전 |
| 양수 Z | 양수 Y 축에 맞춰야 하는 축을 위로 |
| 음수 Z | 양수 Y 축에 맞춰야 하는 축을 위로 |
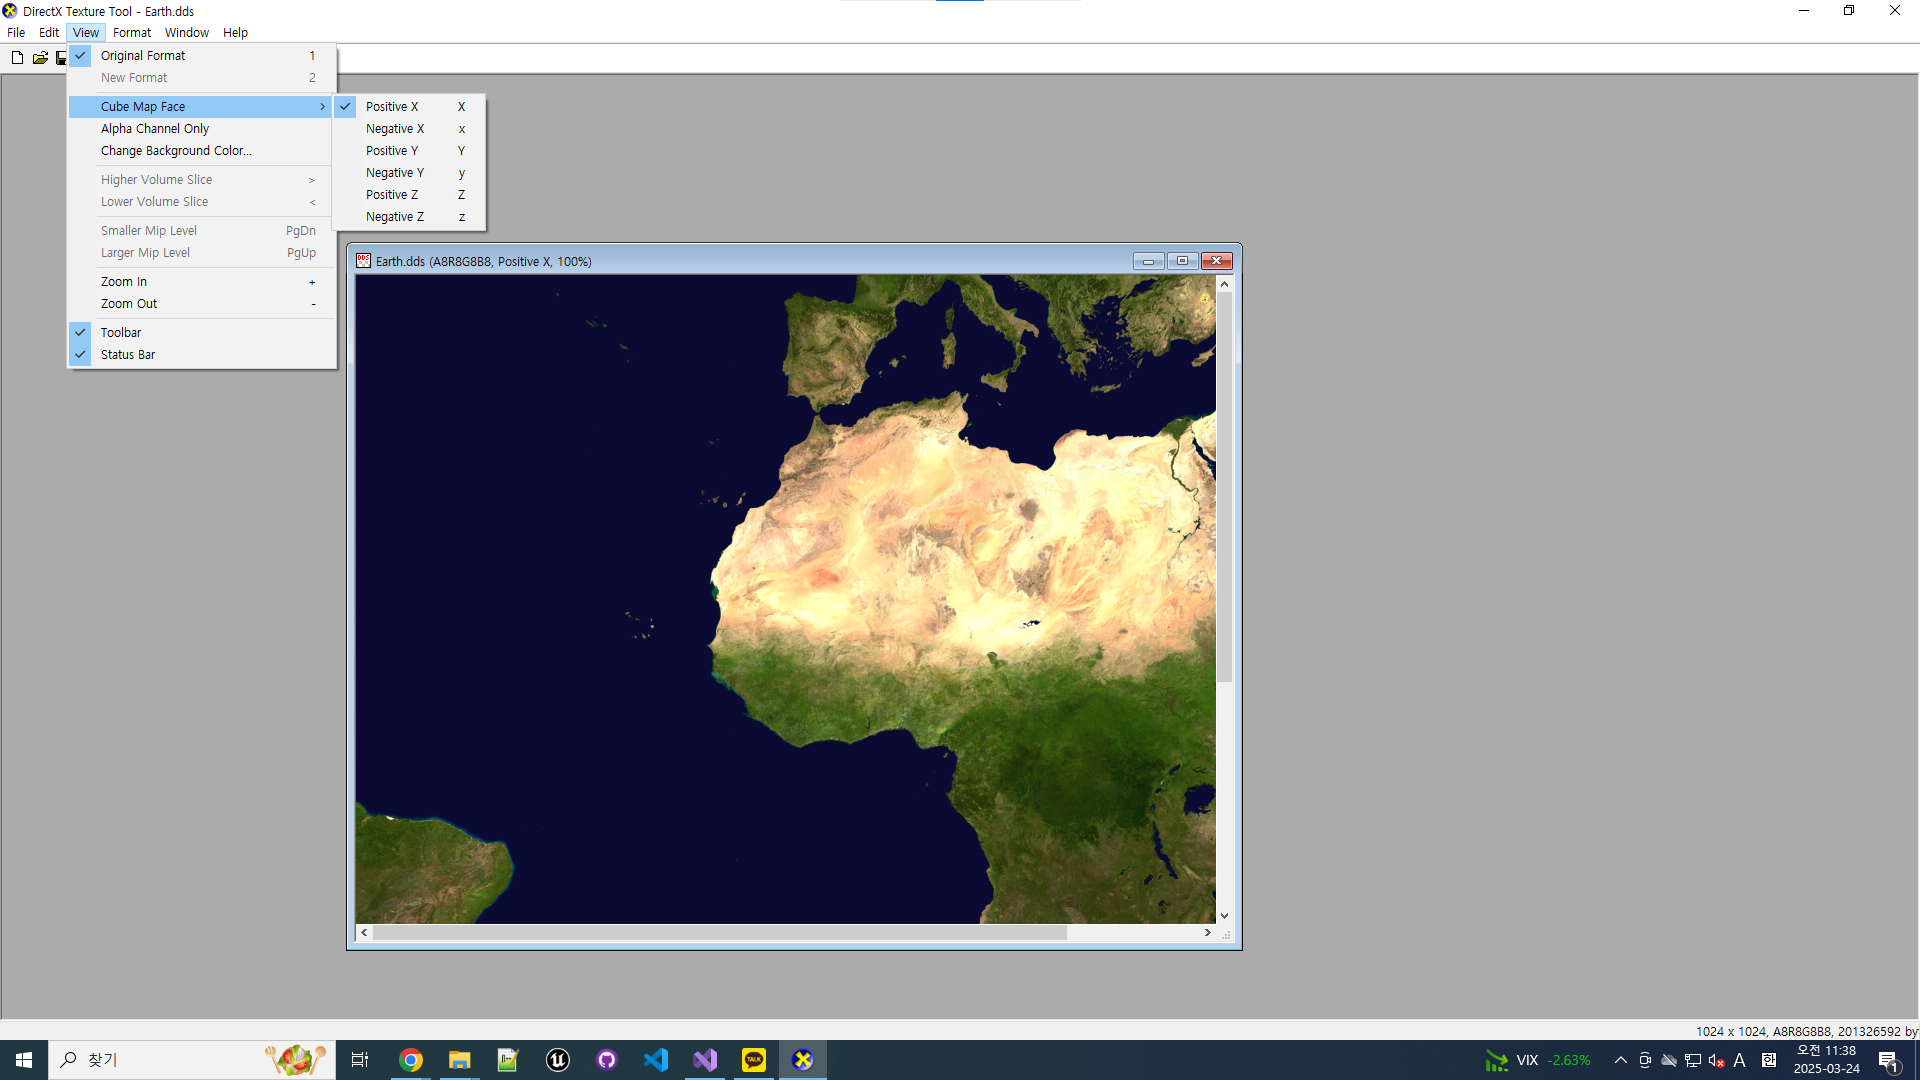
✅ C:\Program Files (x86)\Microsoft DirectX SDK (June 2010)\Utilities\bin\x86\DxTex.exe → 해당 실행 파일에서 큐브맵 확인 가능.
📼 DX11-D3DX 유틸리티로 CubeMap 생성 및 렌더링
A. 큐브맵 텍스쳐를 적용할 메시 생성(Sphere, Cube) - SetSphere() / SetCube()
| 단계 | Vertex Buffer | Index Buffer |
|---|---|---|
| 1. 리스트 생성 | vector | vector |
| 2. 동적 배열 할당 | Vertex* vertices = new Vertex[v.size()]; | UINT* indices = new UINT[i.size()]; |
| 3. 데이터 복사 | copy(v.begin(), v.end(), stdext::checked_array_iterator<Vertex*>(vertices, VertexCount)); | 💥 copy(i.begin(), i.end(), indices ); |
| 4. 버퍼 생성 | VBuffer = new VertexBuffer(vertices, VertexCount, sizeof(Vertex)) | IBuffer = new IndexBuffer(indices, IndexCount) |
| 5. 메모리 해제 | DeleteArray(vertices) | DeleteArray(indices ) |
💥 IndexBuffer의 데이터 복사 방식은 메시의 정점 구조 및 정점 수 고정 여부에 따라 달라짐.
- Sphere의 경우 인덱스 개수가 슬라이스 수(InSliceCount; 메시의 분할 개수)에 따라 가변적이기 때문에 vector에 데이터를 누적한 후, copy()를 통해 배열로 복사해야함.
반면 Cube는 인덱스 개수가 36개로 고정되어 있어, new를 통해 배열을 생성하면서 동시에 초기화가 가능하므로 별도의 복사 과정이 필요하지 않음.
B. 큐브맵 생성 - CreateCubeMap()
- 큐브맵 텍스처 파일 경로 설정 : 사용할 큐브맵 텍스처 파일(.dds) 경로 설정.
- 정점 데이터 설정(큐브, 즉 6면 구성) : 큐브의 각 면(Front, Back, Top, Bottom, Left, Right)을 기준으로 **vector
**에 정점 좌표를 정의. - 면 당 4개의 정점이 존재하므로 총 24개 생성.
- 정점 버퍼(Vertex Buffer) 생성 : 설정한 정점 리스트를 기반으로 Vertex Buffer 생성.
- 인덱스 버퍼(Index Buffer) 생성 : Triangle List로 6면 × 2삼각형 × 3정점 = 36 인덱스를 정의하고, Index Buffer 생성.
- World Transform 설정 : 큐브맵 메시가 그려질 트랜스폼(위치, 회전, 크기)을 정의하는 World(Matrix; 4×4 행렬)를 설정.
C. Shader 설정 - CubeMap.fx
00_Context.fx - 공통으로 사용할 fx 파일
  float4 CalcWorldPosition(float4 position) //월드 변환
  {
      return mul(position, World);
  }

  float4 CalcViewProjection(float4 position) //뷰-프로젝션 변환
  {
      return mul(position, ViewProjection);
  }
VertexInput - 메시의 정점 정보
  struct VertexInput
  {
  	float4 Position : Position;
  }
CubeMap은 UV 좌표 없이 방향벡터 기반으로 샘플링하기 때문에 정점 위치(Position)만 받음.
(유의 : Position은 반드시 float4로 받아야함.)
VertexOutput
struct VertexOutput { float4 Position : SV_Position; float4 oPosition : Position1; }- Position : SV_Position - RS(Rasterizer Stage)로 넘길 정점 위치. 즉 렌더링을 위한 화면 공간 좌표.
- oPosition : Position1 - 원래 정점 위치를 CubeMap 샘플링에 사용. 즉 PS(Pixel Shader)에서 방향 벡터로 사용.
Vertex Shader(VS) - Output 세팅
  VertexOutput VS(VertexInput input)
  {
      VertexOutput output;
      output.oPosition = input.position.xyz;
      output.Position = CalcWorldPosition(input.Position);
      output.Position = CalcViewProjection(output.Position);

      return output;
  }
output.oPosition = input.Position.xyz;
- CubeMap 샘플링용 방향 벡터 저장
output.Position = CalcWorldPosition(input.Position)
- 월드 좌표로 변환
output.Position = CalcViewProjection(output.Position)
- 카메라 기준으로 뷰·프로젝션 변환
Pixel Shader(PS) 설정
  TextureCube CubeMap;
  float4 PS(VertexOutput input) : SV_Target
  {
      return CubeMap.Sample(LinearSampler, input.oPosition);
  }
★ SV_Target(화면 버퍼에 출력될 픽셀 색상)
- PS에서 입력된 방향 벡터(oPosition)를 기반으로 CubeMap 텍스처에서 색상을 LinearSampler로 샘플링.
✅ LinearSampler : 선형 보간 샘플러로, 경계가 부드럽게 보이도록 해줌.
D. Technique 설정
technique11 T0
{
    P_VP(P0, VS, PS)
}
위에서 작성한 VS, PS를 연결해 렌더링 파이프라인을 구성.
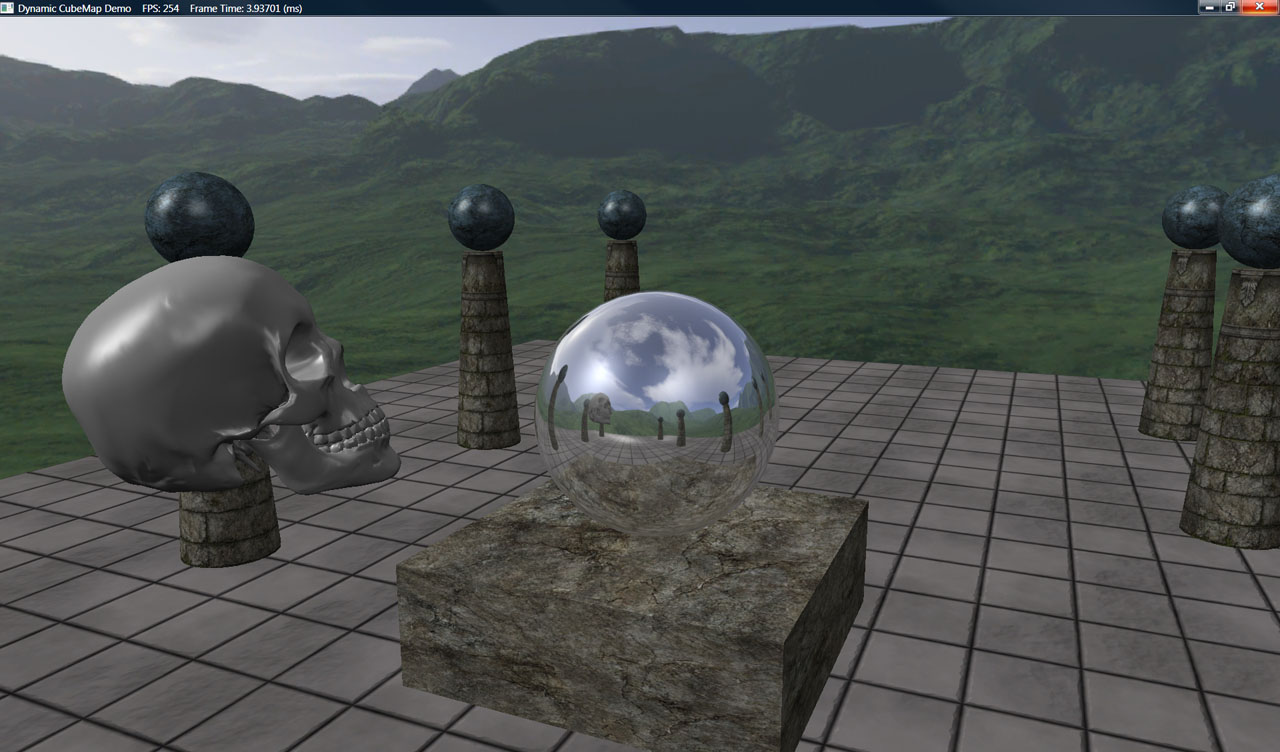
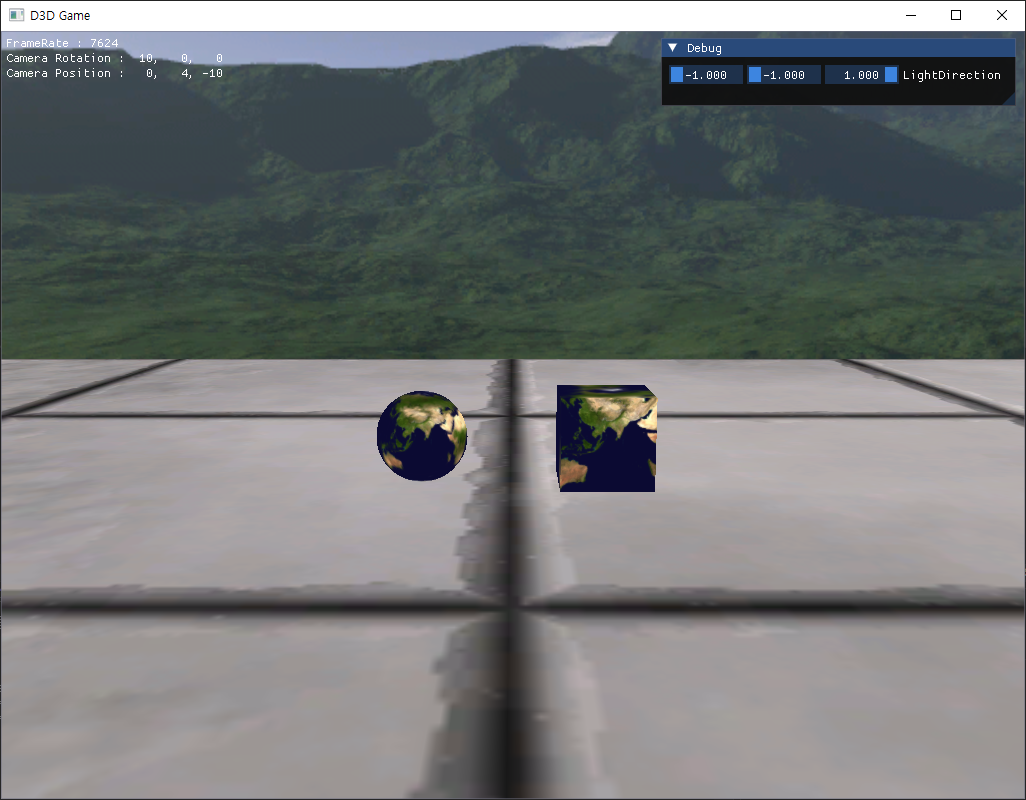
결과
출처 : https://dev.epicgames.com/documentation/ko-kr/unreal-engine/creating-cubemaps?application_version=4.27